Showing posts with label Homeade how to. Show all posts

Tuesday, February 1, 2011

Homemade Limoncello


The last time my husband and I went to Italy, we came home with a suitcase full of Italian souvenirs---including a few bottles of limoncello.

As nature would have it, I found out 10 days after returning home that I was pregnant. So my vision of sitting on my patio sipping on my limoncello was left at just that...a vision. I made my husband swear that he would not touch the last bottle of limoncello until after our baby was born so that I was able to enjoy those last sips and memories of our trip to Italy.

Once our daughter was born, the limoncello was fair game--and is now a distant memory.

We were able to hunt a bottle down at Dean and Deluca while in Napa for our 3 year anniversary and even though it was very good--it just didn't compare to what I found in Italy.

Most Italians make their own housemade limoncello. In fact, many of the mom and pop restaurants we went to served the best limoncello we ever had. So when I found a recipe for limoncello in my local newspaper...I was on it like white on rice!

Keep in mind- this is a sipping drink for after dinner. Pour a small amount into a shot glass and that should be all you need. The real purpose of the drink is to break down the food in your gut for easier digestion. Not sure if its true, per se but I will tell you it's worked for me when I've eaten a bit too much! ;)

The outcome: Totally lemon, totally delicious...and warning....totally strong!

Tip: Use my vegetable wash for the lemons!

For the recipe:

Homemade Limoncello
by: Cafe Coco

Ingredients:
1 liter GOOD quality vodka (preferably something with a higher alcohol content) I used Kettle One
2.5 cups sugar
2 cups water
Zest of 15 fresh lemons, washed

Directions:
Wash lemons well with a vegetable wash.  Pat dry.

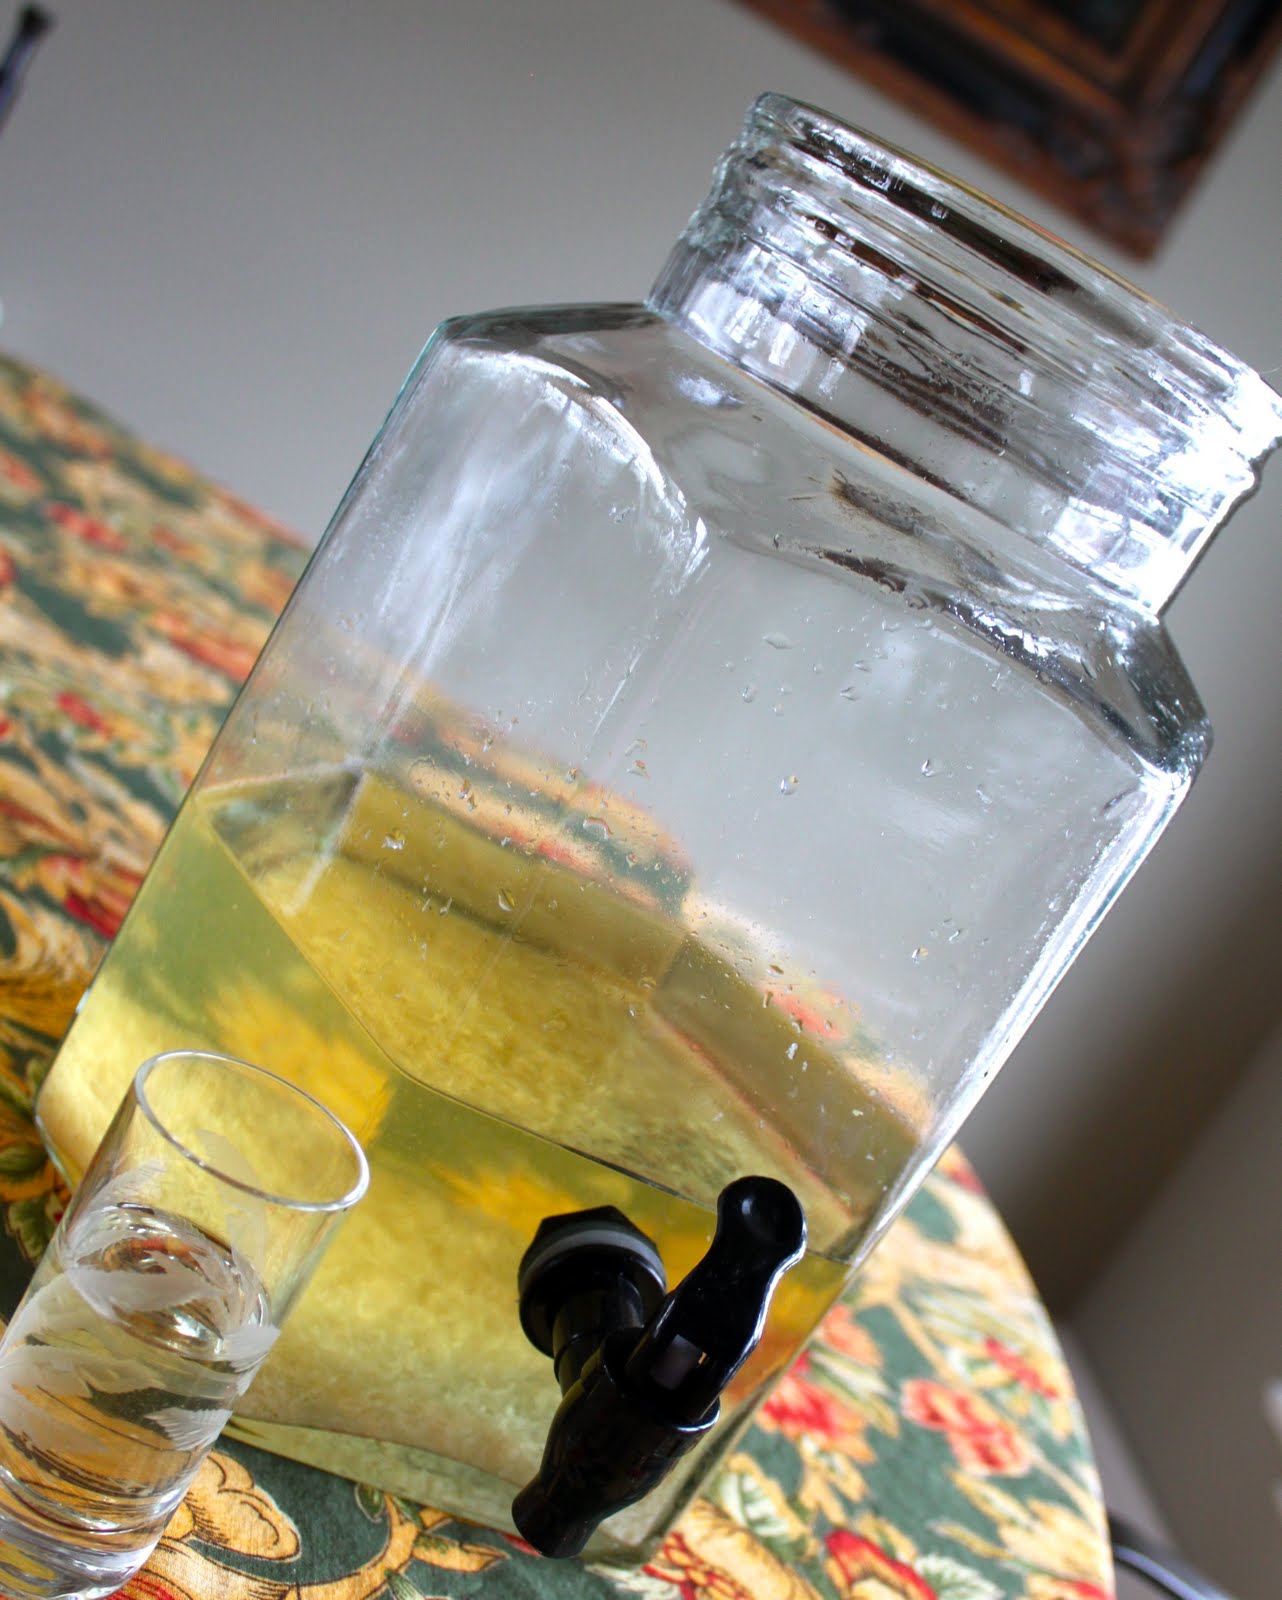
In a clean gallon glass jar, add 1/2 liter (about 4 cups) vodka.  Zest lemons with a zester and add to vodka.  Stir and cover.  Let sit at room temperature for at least 10 days or up to 40 days (you want a cool, dark environment but not the refrigerator).

In a large saucepan, add water and sugar.  Heat over medium high heat until mixture becomes thick and sugar is disolved, about 5 minutes.  Take saucepan off heat and let sugar syrup cool.  Add syrup to the vodka, zest mixture and stir to combine.  Add the other half of the vodka (about 4 cups), stir.  Cover the glass jar again and let it rest for another 10-40 days.

Strain zest from vodka with cheesecloth and pour into clean glass containers.  Store in the freezer and serve as needed!  

Thursday, January 13, 2011

Homemade Fruit and Vegetable Wash


I realized one day while walking the isle of my local supermarket that I should probably wash my fruits and vegetables--rather than just rinsing them in water. Watching people sneeze then touch the fruit to inspect it and then putting it back again kind of grossed me out.

Then I thought: I don't wash my hands in JUST water. I use soap. So I made my way over to the vegetable wash; then thought again. Hmm.... do I want to spend X dollars on this? Then I read the ingredients....most of them were unrecognizable. Then my final thought: I'd almost rather take my chances with regular everyday bacteria than chemicals my body would never recognize to fight off anyway. So I put the veggie wash back on the shelf.

While reading one of the 'tip' articles in my Cuisine at Home magazine a few months ago a reader had suggested just mixing vinegar and water to spray on vegetables. Genius. It's cheap...and totally safe. Vinegar is a natural disinfectant. In fact, it's what is used to clean my wood floors too!

No sense in wasting money on veggie washes, chances are you have the perfect ingredient to wash your fruits and veggies safely at home!


Vinegar Fruit and Veggie Wash
2 Tablespoon white vinegar
1 pint water

Directions: Mix vinegar and water together. You can put in a spray bottle or bowl and scrub clean and then rinse with water.


Thursday, August 26, 2010

Homemade Yogurt and a Yogurt Maker Review

Cherry Vanilla Bean Yogurt

I received this great Tribest Yo-Life Yogurt maker from the folks at CSN stores last month and I've had fun playing around with it.

I've been wanting to make homemade yogurt for so long...and I just couldn't see myself dealing with the whole heating pad in the oven routine. It was just to sketchy for me. The idea of a yogurt maker is great--because it's a controlled environment...I know that I will have a great (or safe) outcome every time.

The hands on time is very minimal. It's really just the 'wait' time that takes forever. The yogurt maker said 8-12 hours of set time. I checked mine at the 8 hour mark and it just seemed a bit too runny. So I would recommend the full time.

I made my yogurt with organic skim milk, and fat free plain organic yogurt. The yogurt still seemed a bit runny. There could be 2 issues: the skim milk or the fact that I used plain yogurt as a starter rather than a concentrated yogurt starter. (I couldn't find a yogurt starter anywhere). Anyone know where I can get one? I am going to try this once again to see if I can get the yogurt thicker--this time with a 1% milk.


Plain yogurt before draining

I did drain some of the yogurt over paper towel and colander. That seemed to help.

I will say, it was fun playing around with flavors. I added my own vanilla extract, chopped fruit and agave nectar for added sweetness.


Raspberry Vanilla Bean Yogurt with Agave Nectar


I can't wait to make some improvements. My little one should be able to have yogurt in the next few months. I have made all of her baby food so far...and yogurt will be no different! Once I get to that stage I will have to venture into the whole milk sector of course.

My favorite thing about this yogurt maker is that it gives you 7 little glass containers to make the yogurt in. PLUS if you wanted to use your own glass containers (mason jars and such) you can do that too.

Overall, I love the concept of this thing...I just need to figure out if the glitch is caused by the maker or the baker!


Wednesday, January 7, 2009

Homemade Ricotta Cheese

Are we approaching a world of “do it yourself”?

Growing up, my dad was always the ultimate handy man. If something broke, he fixed it. Today, I still consider myself my fathers’ daughter…only not in a sense of ‘fixing’ things, but as the ultimate handy wife in the kitchen. I like doing things myself. Whether it be making my own vanilla extract, rolling out my own chicken stock, making my own ravioli, mashing my own potatoes, and even making my own ricotta cheese. Some may find these projects tedious, but I find them fun.

What you may come to realize by making things yourself is the satisfaction that you can do it, and in the meantime realize…that things taste so much better, fresh. I think we are reaching a new age of ‘fresh foods’, organic, local, or what have you because let’s face it folks, it’s time to get back to the simple way of things. (Oh yeah, it’s probably easier to buy that in the store…but what kind of fun would that be?).

I was so excited when I opened up my January Bon Appétit because they featured a “how to” section on ricotta cheese. The headline alone intrigued me to read it but what actually enticed me to try it was how easy it was…and you won’t believe it’s all from ingredients and tools you most likely have at home.
Really.

Homemade Ricotta Cheese
Recipe from: Bon Appétit, January 2009
Yields: 1 ½ cups

Ingredients:
8 cups whole milk (8 cups= half gallon)
1 teaspoon salt
3 tablespoons freshly squeezed lemon juice


Directions:
Line a colander with 4 layers of cheesecloth and put over a bowl to collect any drainage. (You can find cheesecloth at just about any grocery store. I found mine at Kroger by all the kitchen tools.)


In a heavy bottomed sauce pan, simmer the milk and salt on medium-high heat. Don’t boil it.


Once it simmers, stir in the lemon juice until curds form (This will only take about a minute).
With a slotted spoon, spoon out the curds and put them into the colander lined with cheesecloth. Let them drain for only a minute, then add to a bowl and cover and chill for 3 hours or up to 2 days.
Discard the left over liquid from the sauce pan.