
Happy New Year everyone!! Do I even have any readers left??!!
The new year is a great time to renew yourself...and those long lost resolutions.
I was never big on making New Years resolutions. Maybe because I never felt I had reason to. But since becoming a mom, I've become so much busier in life that I forget about a lot of things. A lot of things I had TIME to remember! So my New Year's resolution is to make more time for myself, more time to 'love' cooking, and to make more time for my poor neglected blog!
A little update on me: Motherhood has grown on me. In the beginning, I wasn't really sure it would. It's a lot of work and leaves little time for things I once took for granted. Like making last minute runs to the grocery store when I forget something! I've grown so much as a person, and a wife in the last 10 months. I've learned to not sweat the small stuff (ok I still do, but certainly not as much). I also value the 'small stuff' my little girl does....because everything is so new and only lasts months, if not weeks. As I watch my little one grow, it's apparent that she enjoys being with me, especially when I am in the kitchen. She follows me everywhere I go. I look forward to her 'helping' me more in the near future. For now, as I make anything, I feel her pull up on my pant leg and tug at it until I pick her up. She watches my every move. I love that. She loves licking the bowl of chocolate cake batter just as much as I do. And the look on her face when I let her try frosting off the whisk was completely priceless. I don't know that she will love cooking as much as I do. But I have a good feeling she will enjoy eating as much as I do!
As for New Years Eve this year, you can imagine, it was quite laid back. Finding a sitter for the evening can be quite daunting! Besides that, I've always enjoyed spending the night at home entertaining other people. The last few years we've hosted NYE, and I've always tried a new dessert recipe. This year, as I flipped through pages of a few neglected magazines, I noticed a triple decker cake I've had my eyes on since I gave birth. I figured, what the heck. I have nothing to lose.
I'll warn you. This cake is not for the faint of heart. It's truly a chocolate lovers' dessert. It's rich, it's creamy, it's chocolaty. It's truly quite amazing. The bottom layer is a flour-less chocolate torte, the middle layer is deep dark chocolate mousse, and the top is a fluffy white chocolate mouse--which balances the chocolate quite nicely. I've never been one for white chocolate, but in this instance, it really works in this dessert's favor.
While the recipe is rather easy, it's a bit time consuming. If that bothers you, you could always break it up and make the cake portion the night before and make the mousse the following day (which actually does not take much time at all).
Overall, the effort is well worth it. As one of my guests said "Why is it that paparazzi always show up when you bring out food. That never happens at my house." Perhaps they should make this cake! It's certainly photo worthy! (Forgive my photos as I did not cut the cake until my guests came and it was dark!)
For the recipe, click
here. (you will have to register on the site to see it, but it's free)
Happy New Year!
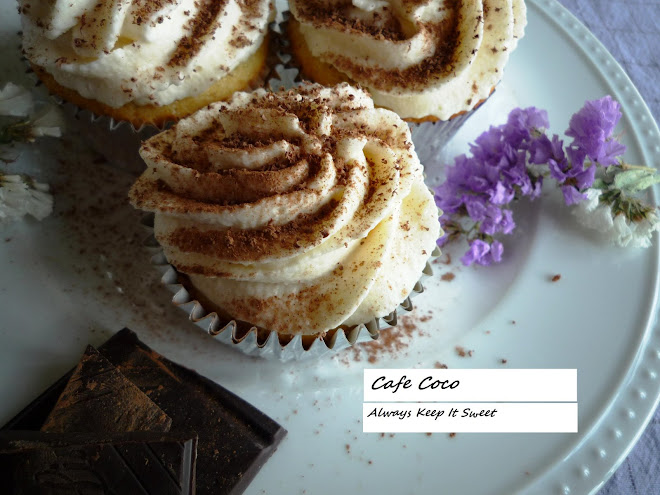
Cafe Coco


